
Contents
- I. Introduction
- II. Understanding Insects for Better Photography
- III. Essential Equipment for Insect Photography
- IV. Camera Settings for Insect Photography
- V. Lighting Techniques for Insect Photography
- VI. Composition and Framing in Insect Photography
- VII. Approaching and Photographing Insects in the Field
- VIII. Post-Processing Tips for Insect Photography
- IX. Sharing and Showcasing Your Insect Photos
I. Introduction

Welcome to the fascinating world of insect photography! Insects are some of the most diverse and beautiful creatures on our planet, and capturing their beauty through photography can be a rewarding and exciting experience. Whether you’re a beginner or an experienced photographer, this article will provide you with valuable tips and techniques to help you capture stunning images of insects.
Photographing insects requires a unique set of skills and equipment. From macro lenses to specialized lighting techniques, there are many factors to consider when venturing into this genre of photography. But don’t worry, we’ll guide you through each step of the process, ensuring that you have all the knowledge and tools necessary to create breathtaking insect photos.
In this article, we’ll cover a wide range of topics, including equipment recommendations, composition techniques, and post-processing tips. We’ll also delve into the behavior and habitats of insects, helping you understand their patterns and increase your chances of capturing them in their natural environment.
Whether you’re interested in photographing butterflies, dragonflies, or beetles, this article will provide you with the essential information you need to get started. So grab your camera, put on your walking shoes, and let’s embark on an exciting journey into the world of insect photography!
II. Understanding Insects for Better Photography

A. Anatomy of insects
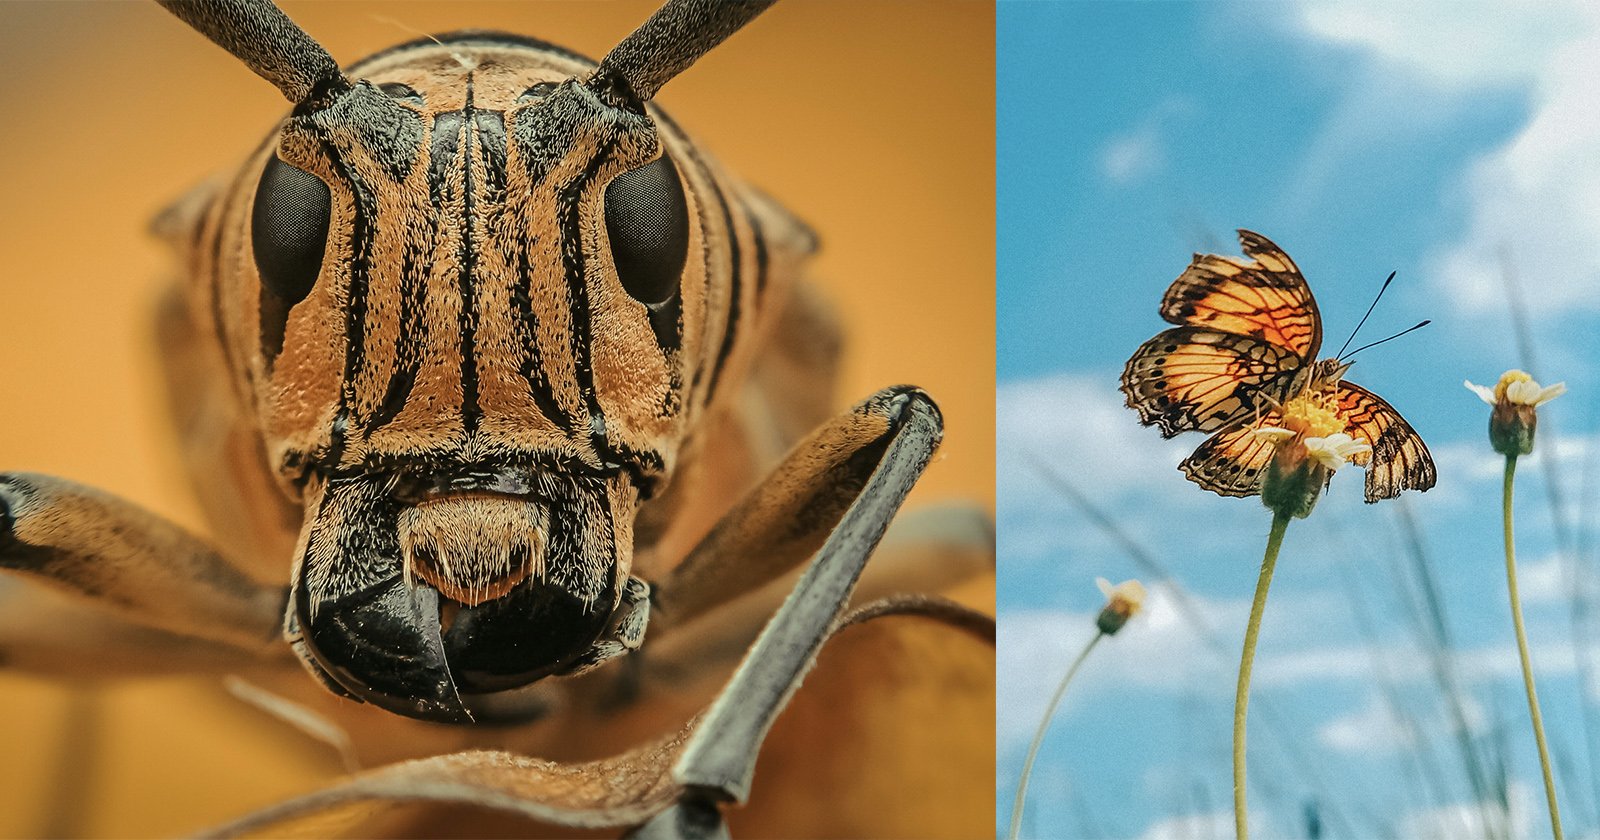
When it comes to insect photography, understanding the anatomy of insects is crucial. By familiarizing yourself with their physical features, you can capture stunning and detailed images. Here are some key aspects of insect anatomy to consider:
- Body structure: Insects have three main body parts – the head, thorax, and abdomen. Each part plays a vital role in their overall appearance and behavior.
- Antennae: These sensory organs vary in shape and size among different insect species. Pay attention to the unique characteristics of antennae, as they can add interest to your photographs.
- Wings: Insect wings come in various shapes and patterns. Understanding how wings are positioned and how they function can help you capture their beauty in motion.
- Legs and feet: Insects use their legs and feet for various purposes, such as walking, gripping, or capturing prey. Focus on capturing the intricate details of their legs and feet to add depth to your images.
- Eyes: Insect eyes can be fascinating subjects for photography. Some insects have compound eyes, while others have simple eyes. Experiment with different angles to capture their unique eye structures.
- Mouthparts: Insects have different types of mouthparts, depending on their feeding habits. Macro shots of their mouthparts can reveal intricate details and provide a glimpse into their feeding behavior.
By studying and understanding the anatomy of insects, you can enhance your photography skills and capture captivating images that showcase the intricate details of these fascinating creatures.
B. Common types of insects for photography
When venturing into insect photography, it’s essential to know which insects are commonly photographed. Here are some popular insect subjects that can add diversity to your portfolio:
- Butterflies and moths: These colorful and delicate insects are a favorite among photographers. Their vibrant wings and graceful flight make for stunning photographs.
- Dragonflies and damselflies: With their intricate wing patterns and unique body shapes, dragonflies and damselflies offer endless opportunities for macro photography.
- Bees and other pollinators: Capturing bees, butterflies, and other pollinators in action can showcase their vital role in the ecosystem. Focus on their interactions with flowers to create visually appealing compositions.
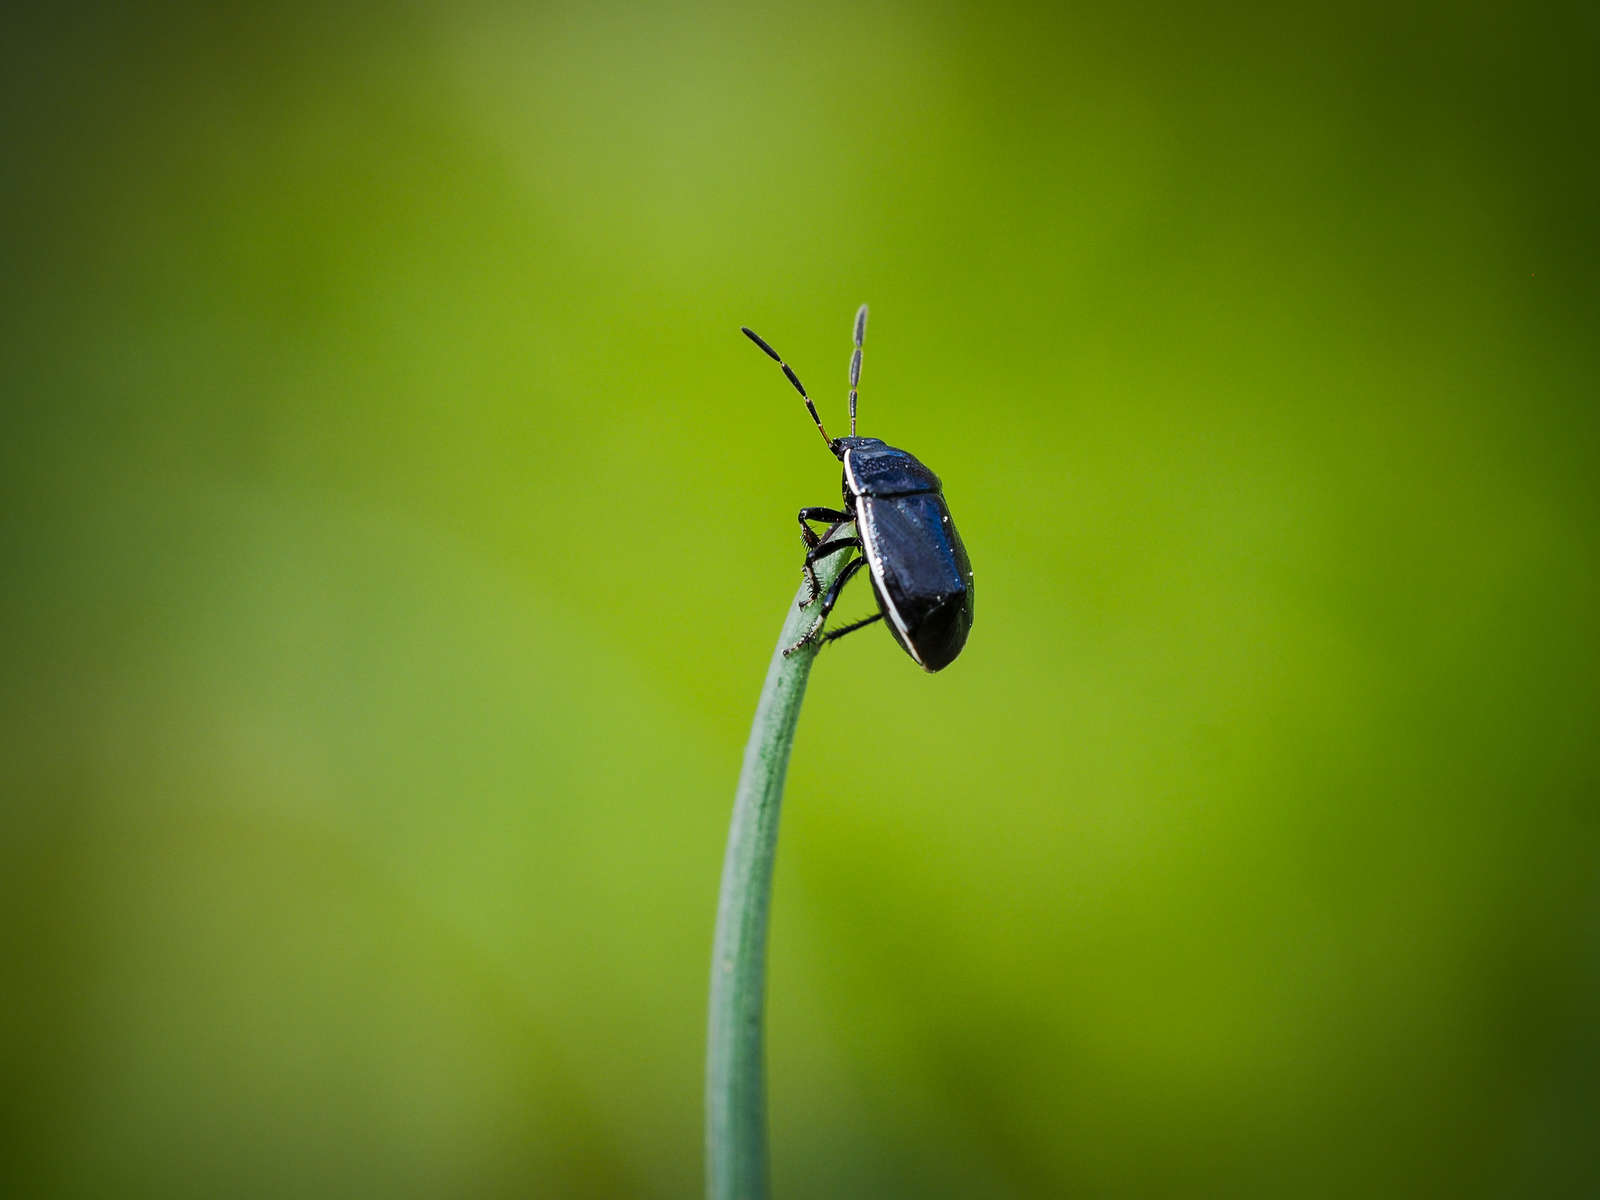
- Beetles: Beetles come in various shapes, sizes, and colors, making them interesting subjects for macro photography. Explore their diverse patterns and textures to create captivating images.
- Grasshoppers and crickets: These insects are known for their unique songs and remarkable jumping abilities. Photographing them in their natural habitats can result in dynamic and engaging images.
- Ants and other social insects: Observing the behavior of social insects, such as ants and termites, can provide fascinating insights. Capture their complex interactions and intricate nests to tell a captivating story.
Remember, while these are common types of insects for photography, there are countless other species waiting to be discovered. Explore your local environment and keep an eye out for unique and lesser-known insects that can add a touch of novelty to your portfolio.
C. Behavior and habits of insects
Understanding the behavior and habits of insects is essential for capturing compelling photographs. Here are some insights into their behavior that can help you improve your insect photography:
- Feeding patterns: Different insects have distinct feeding patterns. Some feed on nectar, while others are predators or scavengers. By observing their feeding behavior, you can anticipate their movements and capture impactful shots.
- Mating rituals: Insects often engage in elaborate mating rituals, which can be visually captivating. Research the mating behaviors of specific insect species and be prepared to capture these intimate moments.
- Flight patterns: Insects’ flight patterns can vary significantly. Some hover in one place, while others dart around swiftly. Understanding their flight behavior will help you anticipate their movements and capture them in action.
- Camouflage and defense mechanisms: Many insects have developed remarkable camouflage and defense mechanisms to protect themselves from predators. Documenting these adaptations can result in visually striking images.
- Nocturnal behavior: Some insects are active during the night, offering unique opportunities for nocturnal photography. Experiment with low-light techniques to capture their behavior in the dark.
By studying the behavior and habits of insects, you can anticipate their actions, choose the right settings, and capture captivating images that showcase their natural behaviors.
Remember, successful insect photography requires patience, observation, and a deep understanding of your subjects. Use the knowledge gained from studying their anatomy, familiarize yourself with common types of insects, and observe their behavior to capture the beauty and intricacy of these fascinating creatures through your lens.
III. Essential Equipment for Insect Photography
When it comes to capturing the beauty of insects through photography, having the right equipment is crucial. In this section, we will discuss the essential equipment needed for successful insect photography.
A. Camera options for insect photography
Choosing the right camera is the first step in capturing stunning insect photographs. There are several camera options available, each with its own advantages and disadvantages.
1. DSLR cameras: DSLR (Digital Single Lens Reflex) cameras are a popular choice among photographers due to their versatility and image quality. They allow you to change lenses and offer manual control over settings, giving you more control over the final result.
2. Mirrorless cameras: Mirrorless cameras are gaining popularity in the photography world. They are smaller and lighter than DSLRs, making them more portable. Mirrorless cameras also offer excellent image quality and advanced features.
3. Point-and-shoot cameras: Point-and-shoot cameras are compact and easy to use, making them a great option for beginners. While they may not offer the same level of control as DSLRs or mirrorless cameras, they can still produce impressive results.
When choosing a camera, consider factors such as image quality, ease of use, and budget. It’s also important to invest in a camera with a high-resolution sensor to capture intricate details of insects.
B. Best lenses for capturing insects
The choice of lens plays a crucial role in insect photography. Here are some lens options that are well-suited for capturing insects:
1. Macro lenses: Macro lenses are specifically designed for close-up photography. They allow you to capture insects in incredible detail, showcasing their intricate patterns and textures. Macro lenses come in different focal lengths, such as 60mm, 100mm, and 180mm, offering various working distances.
2. Telephoto lenses: Telephoto lenses are ideal for photographing insects from a distance. They allow you to maintain a safe distance from potentially dangerous insects while still capturing them in detail. Telephoto lenses with focal lengths of 200mm or more are recommended for insect photography.
3. Wide-angle lenses: While not commonly used for insect photography, wide-angle lenses can be used to capture insects in their natural habitats. They are great for environmental shots, showcasing the insect’s surroundings.
When choosing a lens, consider factors such as focal length, aperture, and image stabilization. Investing in a high-quality lens will greatly enhance the quality of your insect photographs.
C. Tripods and other stabilization tools
Stability is crucial when photographing insects, as even the slightest movement can result in blurry images. Here are some stabilization tools that can help:
1. Tripods: Tripods provide a stable base for your camera, reducing the risk of camera shake. Look for a sturdy tripod that can support the weight of your camera and lens. Consider a tripod with a center column that can be adjusted to different heights and angles for added flexibility.
2. Monopods: Monopods are a lighter and more portable alternative to tripods. They provide some stability while allowing for more freedom of movement. Monopods are particularly useful when photographing insects in challenging environments.
3. Bean bags: Bean bags can be used as a makeshift support for your camera when a tripod or monopod is not available. They can be easily molded to provide stability on uneven surfaces.
4. Remote shutter release: Using a remote shutter release eliminates the need to physically press the camera’s shutter button, minimizing the risk of camera shake. This is especially useful when photographing insects at high magnification.
D. Macro photography accessories
Macro photography requires specialized accessories to achieve the best results. Here are some essential accessories for macro insect photography:
1. Extension tubes: Extension tubes are hollow tubes that fit between the camera body and lens, allowing you to focus closer to the subject. They increase the magnification capabilities of your lens, making them ideal for capturing small insects.
2. Ring flashes: Ring flashes provide even illumination around the subject, minimizing shadows and enhancing details. They are particularly useful for macro photography, where getting sufficient light onto the subject can be challenging.
3. Diffusers: Diffusers are used to soften harsh lighting and reduce glare. They can be attached to the flash or used in natural light photography to achieve a more pleasing and balanced lighting effect.
4. Reflectors: Reflectors are used to bounce light onto the subject, filling in shadows and adding dimension to the image. They come in various shapes and sizes and can be used to manipulate the lighting conditions in macro photography.
By investing in the right equipment and accessories, you can elevate your insect photography to new heights. Experiment with different techniques and equipment to discover your unique style and capture the captivating beauty of insects.
IV. Camera Settings for Insect Photography
When it comes to capturing the beauty of insects through photography, having the right camera settings is crucial. In this section, we will explore the various camera settings that can help you achieve stunning insect photographs.
A. Aperture settings for capturing details
One of the key considerations when photographing insects is capturing intricate details. To achieve this, you need to set the right aperture. Aperture refers to the size of the opening in the lens through which light enters the camera.
For insect photography, it is recommended to use a narrow aperture (higher f-stop value) to increase the depth of field. This allows you to have more of the insect in focus, capturing even the tiniest details. A narrow aperture also creates a pleasing background blur, isolating the insect from its surroundings.
Experiment with different aperture settings to find the sweet spot that gives you the desired level of detail while maintaining a pleasing background blur. Keep in mind that using a narrow aperture reduces the amount of light entering the camera, so you may need to adjust other settings accordingly.
B. Shutter speed for freezing insect motion
When photographing insects, it’s important to freeze their motion to capture them in sharp detail. Insects are often quick and agile, making it challenging to capture them without any motion blur.
To freeze insect motion, you need to use a fast shutter speed. Shutter speed refers to the length of time the camera’s shutter remains open to capture an image. The faster the shutter speed, the shorter the exposure time, resulting in less motion blur.
For most insects, a shutter speed of at least 1/500th of a second is recommended. However, if you’re photographing insects in flight or engaging in fast movements, you may need to use an even faster shutter speed, such as 1/1000th of a second or higher.
Keep in mind that using a fast shutter speed reduces the amount of light reaching the camera’s sensor. To compensate for this, you may need to adjust other settings, such as increasing the ISO or using additional lighting equipment.
C. ISO settings for low-light conditions
When photographing insects, you may encounter low-light conditions, such as early morning or late afternoon. In such situations, adjusting the ISO settings can help you capture well-exposed images.
ISO refers to the sensitivity of the camera’s sensor to light. A higher ISO setting makes the sensor more sensitive, allowing you to capture brighter images in low-light conditions. However, using a high ISO can introduce digital noise or graininess to the image.
Start by using the lowest ISO setting (e.g., ISO 100 or 200) and gradually increase it if needed. Find the balance between capturing enough light and minimizing digital noise. Modern cameras often have good noise reduction capabilities, but it’s still important to find the optimal ISO setting for your specific camera.
D. White balance considerations
White balance is a crucial aspect of insect photography, as it determines the overall color temperature of your images. Different lighting conditions can cast different color tones, and adjusting the white balance ensures accurate color reproduction.
Most cameras offer various white balance presets, such as daylight, cloudy, shade, and tungsten, among others. These presets help you compensate for different lighting conditions and achieve natural-looking colors.
However, in some cases, the presets may not accurately represent the true colors of the insects or their surroundings. In such situations, using a custom white balance setting or manually adjusting the white balance can give you more control over the color temperature.
Experiment with different white balance settings to find the one that best represents the colors in your insect photographs. Remember that white balance can significantly impact the mood and overall feel of your images, so don’t be afraid to explore creative options.
By understanding and utilizing the right camera settings for insect photography, you can capture stunning images that showcase the intricate details and beauty of these fascinating creatures. Remember to experiment, practice, and have fun while exploring the world of insect photography.
V. Lighting Techniques for Insect Photography

When it comes to capturing the beauty of insects through photography, lighting plays a crucial role in achieving stunning results. In this section, we will explore various lighting techniques that can enhance your insect photographs and bring out their intricate details. Whether you prefer natural lighting or want to experiment with flash, we’ve got you covered. We will also discuss how to diffuse and control light for better results.
A. Natural Lighting Tips
Natural lighting can create a soft and ethereal look in insect photography. Here are some tips to make the most of natural light:
- Golden Hour: The golden hour, which occurs during sunrise or sunset, offers warm and flattering light. During this time, the sun is low in the sky, casting a soft glow on your subjects.
- Diffused Light: Overcast days provide diffused light, which can reduce harsh shadows and create a more even lighting across your subject. This is especially beneficial for capturing delicate details on insects.
- Backlighting: Experiment with backlighting to create a dramatic effect. Position your subject between the camera and the light source to create a silhouette or to highlight the translucent wings of certain insects.
- Reflectors: Use reflectors to bounce light onto your subject and fill in any shadows. White foam boards or reflector discs can be effective in redirecting light and adding a touch of brightness to your images.
B. Using Flash for Insect Photography
While natural lighting has its charm, using flash can open up a whole new world of possibilities in insect photography. Here are some tips for using flash:
- External Flash: Invest in an external flash unit that can be mounted on your camera. This will give you more control over the direction and intensity of the light.
- Diffusion: To avoid harsh shadows and create a softer light, consider using a flash diffuser or a small softbox attachment. This will help spread the light more evenly and reduce the chances of overexposure.
- Off-Camera Flash: Experiment with off-camera flash to create more dynamic lighting setups. This technique allows you to position the flash at different angles, highlighting specific features of the insect.
- Fill Flash: Use fill flash to illuminate your subject when shooting in bright sunlight. This helps to balance the exposure and prevent harsh shadows.
C. Diffusing and Controlling Light for Better Results
Controlling and diffusing light can significantly impact the quality of your insect photographs. Here are some techniques to consider:
- Light Tent: A light tent is a portable and collapsible enclosure that diffuses light from all angles. It provides a soft and even lighting, perfect for capturing small insects and their intricate details.
- Reflective Surfaces: Experiment with reflective surfaces to bounce light onto your subject from different angles. This can help you achieve a desired lighting effect and highlight specific features.
- Snoots and Grids: Snoots and grids are accessories that can be attached to your flash to control the direction and spread of light. They allow you to focus the light on specific areas, creating a more dramatic and focused look.
- Light Modifiers: Explore different light modifiers such as diffusers, softboxes, and umbrellas to soften and spread the light. These accessories can help you achieve a more professional and polished look in your insect photographs.
Remember, lighting is a powerful tool in photography, and experimenting with different techniques can lead to unique and captivating images. Whether you choose to work with natural light or explore the possibilities of flash photography, don’t be afraid to push the boundaries and let your creativity shine through.
VI. Composition and Framing in Insect Photography
When it comes to capturing the beauty of insects through photography, composition and framing play a crucial role in creating visually appealing and engaging images. In this section, we will explore some key techniques and considerations that can help you enhance your insect photography skills.
A. Rule of thirds and other composition techniques
Composition is the arrangement of elements within a photograph, and it can greatly impact the overall visual appeal of the image. One popular composition technique used in insect photography is the rule of thirds. This technique involves dividing the frame into a 3×3 grid and placing the main subject along the intersecting lines or at the points where the lines meet.
By following the rule of thirds, you can create a more balanced and visually pleasing composition. However, don’t be afraid to experiment with other composition techniques as well. For example, you can try leading lines, where the lines in the image guide the viewer’s eyes towards the insect. Additionally, using negative space can help draw attention to the subject and create a sense of simplicity and elegance.
B. Background and foreground considerations
When photographing insects, it’s important to pay attention to both the background and foreground elements. The background should complement the subject and not distract from it. Look for clean and uncluttered backgrounds that provide contrast to the insect’s colors and patterns.
On the other hand, foreground elements can add depth and interest to your images. For example, you can use flowers, leaves, or other natural elements to create a sense of context and scale. Experiment with different angles and perspectives to find the most captivating foreground elements that enhance the overall composition.
C. Framing techniques for insect subjects
Framing is another powerful technique that can add impact and focus to your insect photographs. By using natural elements in the environment, such as branches, leaves, or flowers, you can create a frame around the subject, drawing attention to it and adding a sense of depth.
When framing your insect subjects, consider the shape and size of the frame. Look for frames that complement the insect’s shape and create a pleasing visual balance. Additionally, be mindful of the colors and textures of the frame elements, as they can enhance the overall aesthetic appeal of the image.
Experiment with different framing techniques to find the ones that work best for the specific insect species you are photographing. Each insect has its own unique characteristics, and by understanding their behavior and habitat, you can create stunning compositions that capture their essence.
Remember, composition and framing are not strict rules but rather guidelines to help you create visually appealing images. Don’t be afraid to break the rules and experiment with different techniques to develop your own style and capture the beauty of insects in your own unique way.
VII. Approaching and Photographing Insects in the Field
When it comes to capturing the beauty of insects through photography, it is essential to approach them ethically and without causing any harm or disturbance. As an experienced insect photographer, I have learned various techniques for approaching insects, capturing them in flight, and using camouflage and hideouts to get better shots. In this section, I will share my insights and tips on these aspects of insect photography.
A. Ethical considerations for insect photography
Before diving into the technical aspects of insect photography, it is crucial to address the ethical considerations involved. Insects are delicate creatures, and it is our responsibility as photographers to ensure that our actions do not harm them or their habitats.
First and foremost, it is essential to respect the insects’ natural environment. Avoid trampling on plants or disturbing their habitats while trying to get closer to the subject. Be mindful of the potential damage you may cause and take steps to minimize your impact.
Additionally, avoid using harmful chemicals or pesticides that could harm the insects or their surroundings. Opt for natural and environmentally friendly alternatives whenever possible.
Finally, never manipulate or harm the insects for the sake of a photograph. It is crucial to prioritize their well-being over capturing the perfect shot. Remember, the goal is to appreciate and document their beauty, not to exploit or harm them.
B. Approaching insects without disturbing them
Approaching insects without disturbing them requires a combination of patience, observation, and understanding of their behavior. Here are some techniques I have found effective:
- Move slowly and smoothly: Sudden movements can startle insects and cause them to fly away. Approach them with slow and deliberate movements, minimizing any sudden gestures.
- Blend in with the surroundings: Wear clothing that matches the colors and patterns of the environment you are photographing in. This will help you blend in and appear less threatening to the insects.
- Use a longer focal length: If you have a telephoto lens, use it to maintain a safe distance from the insects while still capturing close-up shots. This will minimize the chances of disturbing them.
- Observe their behavior: Take the time to observe the insects from a distance before approaching them. This will give you valuable insights into their movements and behavior, allowing you to anticipate their actions.
Remember, the key is to be patient and respectful of the insects’ space. Avoid touching or disturbing them unnecessarily, as this can cause stress and potentially harm them.
C. Techniques for capturing insects in flight
Capturing insects in flight can be a challenging yet rewarding aspect of insect photography. Here are some techniques that can help you freeze their motion and capture stunning images:
- Use a fast shutter speed: Insects move quickly, so it is essential to use a fast shutter speed to freeze their motion. Experiment with different shutter speeds to find the right balance between freezing the action and maintaining image sharpness.
- Track the subject: Follow the insect’s movement with your camera and try to anticipate its flight path. This will help you keep the subject in focus and increase your chances of capturing a sharp image.
- Pre-focus on a specific spot: If you know where the insect is likely to fly, pre-focus your camera on that spot. This will allow you to capture the insect in sharp focus as soon as it enters the frame.
- Use burst mode: Insects’ movements can be unpredictable, so using burst mode can increase your chances of capturing the perfect moment. Rapidly firing off a series of shots will give you more options to choose from.
Experiment with different techniques and settings to find what works best for you. It may take some practice and patience, but capturing insects in flight can result in stunning and dynamic photographs.
D. Using camouflage and hideouts for better shots
Camouflage and hideouts can be valuable tools for getting closer to insects without alarming them. By blending in with the environment or creating a concealed space, you can increase your chances of capturing intimate and detailed shots. Here are some techniques to consider:
- Use natural elements: Incorporate natural elements like leaves, branches, or flowers into your composition. This will help you blend in and create a more authentic and immersive image.
- Create a hideout: Set up a small tent or hideout near an area frequented by insects. This will provide you with a concealed space to observe and photograph them without causing any disturbance.
- Patience is key: When using camouflage or hideouts, patience is crucial. Insects may take some time to become comfortable with your presence. Wait quietly and observe their behavior until the perfect moment presents itself.
Remember, the goal is to capture the insects’ natural behavior and beauty without interfering with their lives. Be respectful and mindful of their space, and always prioritize their well-being over getting the perfect shot.
By following these ethical considerations and implementing the techniques mentioned above, you can approach and photograph insects in the field while minimizing any disturbance or harm. Enjoy the process of observing these fascinating creatures and capturing their beauty through your lens.
VIII. Post-Processing Tips for Insect Photography
A. Selecting and organizing your photos
When it comes to insect photography, selecting and organizing your photos is a crucial step in the post-processing workflow. After a successful photo shoot, you may end up with hundreds or even thousands of images to sort through. To make this process more manageable, it’s important to establish a system for organizing your photos.
One effective way to organize your insect photos is by creating folders based on different species or categories. This will allow you to easily locate specific images when needed. Additionally, you can use software programs like Adobe Lightroom or Capture One to add keywords and tags to your photos, making it easier to search for specific images later on.
When selecting which photos to keep, it’s important to be critical and only choose the best ones. Look for images that are sharp, well-composed, and showcase the unique characteristics of the insect. It’s also a good idea to delete any duplicate or blurry images to save storage space.
B. Basic editing techniques for insect photos
Once you have selected your best insect photos, it’s time to enhance them through basic editing techniques. Editing can help improve the overall quality of your images and bring out the details and colors of the insects.
One of the first steps in editing insect photos is adjusting the exposure. This involves tweaking the brightness, contrast, and highlights to ensure that the image is well-balanced. You can also make adjustments to the white balance to correct any color casts caused by different lighting conditions.
Insect photos often benefit from a boost in sharpness. You can use the sharpening tool in your editing software to enhance the details of the insect, such as the texture of its wings or the intricate patterns on its body. However, be careful not to over-sharpen, as this can result in unnatural-looking images.
Another important aspect of editing insect photos is cropping. By cropping the image, you can eliminate any distracting elements and focus on the main subject. This can help create a more visually appealing composition and draw the viewer’s attention to the insect.
C. Enhancing details and colors in post-processing
When it comes to insect photography, capturing the intricate details and vibrant colors of the insects is essential. In post-processing, there are several techniques you can use to enhance these aspects and make your photos truly stand out.
One technique is selective sharpening, where you apply sharpening only to specific areas of the image, such as the eyes or the wings of the insect. This can help bring out the fine details without affecting the rest of the photo.
Adjusting the saturation and vibrance can also make the colors of the insect more vibrant and eye-catching. However, it’s important to strike a balance and avoid oversaturating the colors, as this can make the image look unnatural. Use your judgment and make subtle adjustments to achieve the desired effect.
Furthermore, you can use the curves tool to fine-tune the overall tonal range and contrast of the image. This can help add depth and dimension to your insect photos, making them more visually appealing.
Lastly, don’t be afraid to experiment with different editing techniques and presets. Every photographer has their own unique style, and post-processing is an opportunity to showcase your creativity and artistic vision. Play around with different settings and adjustments until you achieve the desired look for your insect photos.
IX. Sharing and Showcasing Your Insect Photos
As an avid insect photographer, I understand the joy of capturing the beauty of these fascinating creatures. But what good is it to keep these stunning images to yourself? In this section, I will share some tips on how you can share and showcase your insect photos to a wider audience, whether it’s through building an online portfolio or website, utilizing social media platforms, or participating in photography contests and exhibitions.
A. Building an online portfolio or website
One of the best ways to showcase your insect photos is by building an online portfolio or website. This allows you to create a dedicated space where you can display your work and attract potential viewers, enthusiasts, and even potential clients.
When building your online portfolio or website, consider the following:
- Choose a user-friendly platform: There are many website builders available that offer easy-to-use templates and customization options. Look for a platform that suits your needs and allows you to showcase your insect photos in the best possible way.
- Organize your photos: Categorize your insect photos into different galleries or albums to make it easier for visitors to navigate through your work. Consider organizing them by species, location, or theme.
- Provide detailed descriptions: Accompany each photo with a brief description that includes relevant information such as the species of the insect, the location where it was taken, and any interesting facts or anecdotes related to the photo.
- Optimize for search engines: To ensure that your online portfolio or website reaches a wider audience, optimize it for search engines. Use relevant keywords in your page titles, image alt tags, and meta descriptions. This will help improve your website’s visibility in search engine results.
- Enable social sharing: Make it easy for visitors to share your insect photos by including social sharing buttons on your website. This can help increase the reach of your photos and attract more viewers.
B. Social media platforms for sharing insect photos
In today’s digital age, social media platforms have become powerful tools for sharing and promoting photography. Utilizing these platforms can help you reach a wider audience and connect with fellow insect photography enthusiasts. Here are some popular social media platforms that are ideal for sharing your insect photos:
- Instagram: Instagram is a visual-centric platform that allows you to showcase your insect photos in a visually appealing way. Use relevant hashtags such as #insectphotography, #macrophotography, or #naturephotography to increase the discoverability of your photos.
- Facebook: Create a dedicated page or join insect photography groups on Facebook to share your photos with a community of like-minded individuals. Engage with other photographers by commenting on their work and participating in discussions.
- Twitter: Share your insect photos on Twitter along with a brief description or interesting fact. Utilize relevant hashtags to increase the visibility of your photos and engage with other photographers and enthusiasts.
- 500px: 500px is a photography-focused platform where you can showcase your insect photos to a community of photographers and enthusiasts. Take advantage of the platform’s features such as galleries, portfolios, and the ability to sell your photos.
C. Participating in photography contests and exhibitions
Participating in photography contests and exhibitions is a great way to gain recognition for your insect photos and connect with the photography community. Here are some tips to make the most out of these opportunities:
- Research and choose the right contests and exhibitions: Look for contests and exhibitions that specifically focus on nature or macro photography. This will give your insect photos a better chance of standing out and being appreciated by the judges and viewers.
- Follow the guidelines: Read and understand the rules and guidelines of each contest or exhibition before submitting your photos. Make sure your photos meet the required specifications and follow any theme or category restrictions.
- Prepare your photos: Select your best insect photos that showcase your skills and creativity. Pay attention to composition, lighting, and overall impact. Edit your photos, if necessary, to enhance their visual appeal.
- Network and engage: Attend photography events, exhibitions, and networking sessions to connect with fellow photographers, industry professionals, and potential clients. Engage in conversations, share your experiences, and learn from others.
- Learn from feedback: Whether your photos win or not, take the opportunity to learn from the feedback provided by judges, viewers, and fellow photographers. Constructive criticism can help you improve your skills and develop your unique style.
Sharing and showcasing your insect photos is not only a way to gain recognition but also a means to inspire others and raise awareness about the beauty and importance of these tiny creatures. So, don’t hesitate to share your passion and let your insect photos take flight!